What is Docker?
Docker is awesome, that’s what it is.
In a nutshell, docker helps you get round the problem of ‘well it worked on my machine’ routine. It does this by taking an application you want to work on, all the bits and bobs around it (database, configurations etc) and packages it up into a self contained container. These containers are built from a simple image, this means a whole bunch of containers one for each developer can be rolled out in minutes - allowing parallel development with no infringement on the main coding branch. Enterprises use Docker to build agile software delivery pipelines to ship new features faster, more securely and with confidence for both Linux, Windows Server, and Linux-on-mainframe apps.

So “whats a container?” I hear you ask. Containers are a way to package software in a format that can run isolated on a shared operating system. Unlike VMs, containers do not bundle a full operating system - only libraries and settings required to make the software work are needed. This makes for efficient, lightweight, self-contained systems and guarantees that software will always run the same, regardless of where it’s deployed.
Docker Engine
The docker engine:Docker Tutorial
Right lets get stuck in, first up here are some useful links you can use for installation
Getting Started
$ docker ps
shows docker containers installed
$ docker run hello-world
downloads and runs standard hello world docker application
Once you have installed docker, and are happy that the service is up and running create your own directory lets call it docker-tutorial and then open terminal or command line and run the above commands.
Now its time to navigate to the official Docker site to look for some pre designed images we can use to spin up containers. First go here. Then in the top left corner you see a search bar, you can search for the application/lib/config combo you wish to use - note you don't actually download it here as you can do that from terminal
Images are obtained from docker hub, You can get custom made images as well as official ones. The search result shows metrics for each image, including the number of pulls, ratings etc. Lets search for Nginx and select the one that says official.
More information on Nginx related to docker can be found here.
On the docker Nginx information page, it also shows you examples of how to use the image, which I will flesh out. Normally the default nginx is based on Db and Jessie (a linux distribution which is feature rich and stable), but today we will be using the Alpine version - a trendy distribution that is linear and optimised for secrurity. Also it is MUCH smaller, from about 71mb down to 17mb. Now lets go log back into terminal and pull the Nginx official repo down to our computer.
$ docker pull nginx:1.10.2-alpine
This will download nginx for you
$ docker images
Now we can see our new image
Awesome, now that nginx has been downloaded and verified we want to run the docker container, but first we need to map our container to host ports. This is simple with docker, we simply use the format pxx:yy where xx is the container port and yy is your host port. If you try it without maping you wont be able to access your container port.
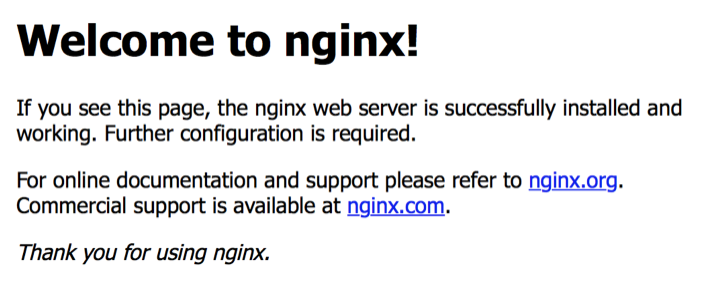
docker run --name my-nginx -p 80:80 nginx:1.10.1-alpineOnce complete, lets open up our browser and navigate to localhost. Simpley enter http://localhost or put in your local ip address. You should see the following output:
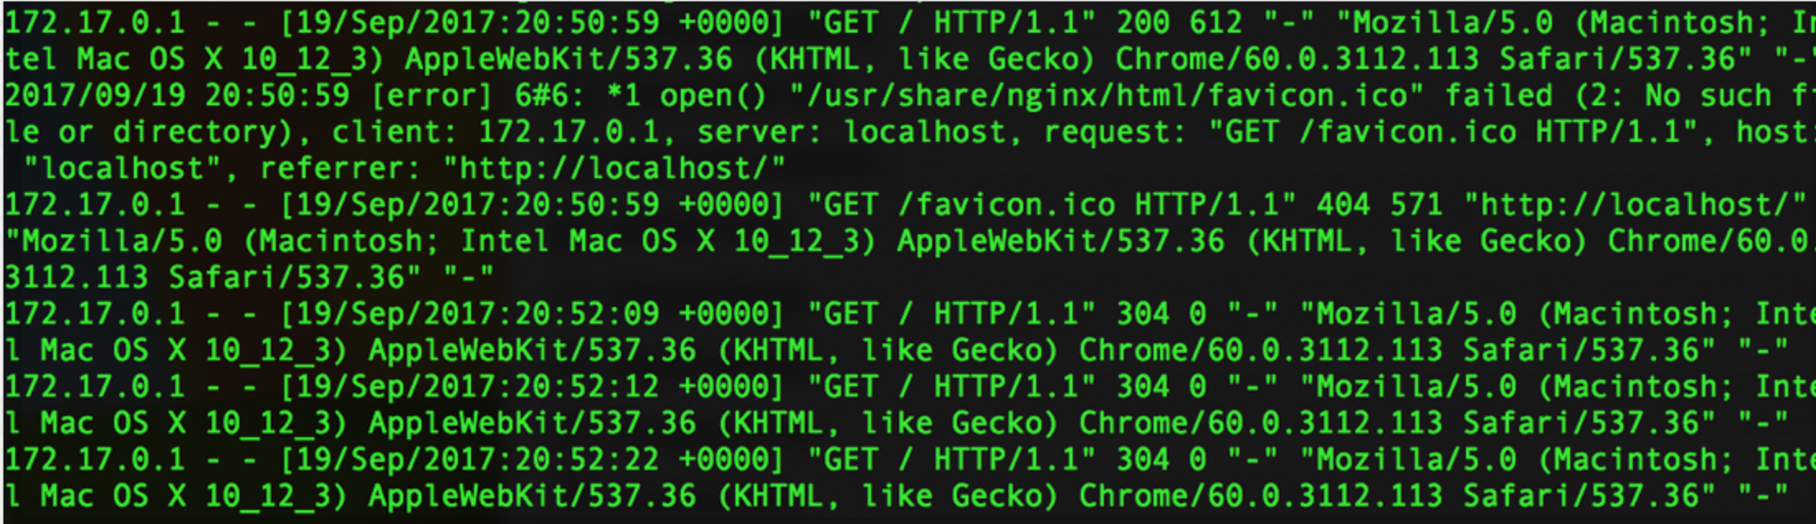
Notice that when you refresh the browser if you look on the terminal screen you can see it adds a new transaction for every refresh.
Terminate Container
Now its time to close down the container
$ CTL + C
terminates docker container application run
$ docker ps -a
displays all active and inactive containers
$ docker rm my-nginx
Removes container
$ docker ps -a
displays all active and inactive containers
So just now we were able to quickly and rapidly, download a docker image, spin up the image and run it so that we were able to start the nginx reverse proxy server. Also:
Run Application in Background
As mentioned above we enter the same run script specifying ports etc, but this time we add in a -d parameter which is our runtime parameter to tell docker to run it as daemon.
$ docker run --name my-nginx -d -p 80:80 nginx:1.10.1-alpine
Runs in background
You might want to verify this by running the
docker ps command and going to localhost on your browser.
important information
Mounting Docker to A Volume
Lets create a configuration file and map that configuration file into our container (NGINX), but to do that we must first get inside the container and run a command to mount the volume, then take a copy as a template we can configure later:
$ docker exec -ti my-nginx /bin/sh
Executes nginx commands inside the container
$ #/bin/sh
starts shell
$ ls -al
list all components
$ whoami
prints user
Now lets go and look at the nginx configuration file, take a note and copy this into sublime or any other text editor.
$ -v /host/path/nginx.conf
mounts the volume
$ cat /etc/nginx/nginx.conf
prints to screen the contents of nginx.conf
$exit
 exits the docker application
Now its time to stop and remove the container as we are going to create a new instance with a configuration file, in which we will make a minor change to show that we can pass parameters in via a mounted volume.
$ docker stop my-nginx
Stops the application
$ docker rm my-nginx
removes the container named my-nginx
Now its time to open up nginx.conf in sublime, within our directory. Just CD to docker-tutorials and run sublime nginx.conf. Now lets paste our output that we had copied from inside the previous docker container. Look for the commented section that says gzip on; and uncomment this. Now apply the following command to run a new docker container except passing in your configuration.
$ docker run --name my-nginx -d -p 80:80 -v /Users/adammcmurchie/docker-tutorial/docker/nginx.conf:/etc/nginx/nginx.conf:ro nginx:1.10.1-alpine
You will need to amend the path to point to your nginx.conf but keep in the :ro that follows
Now lets go to localhost in the browser, if you use google chrome open up developers tools, then click on network and click local. Refresh and you should notice that the content-encoding will now say gzip. You may need to clear the cash in google if it doesn't update automatically.
adding a webstite
Lets make it more interesting and add a website so that we can navigate to when the application and thus the nginx server is running. First clear down your existing nginx docker containers.
$ docker stop my-nginx
Stops the application
$ docker rm my-nginx
removes the container named my-nginx
Now in your directory (which we called docker-tutorials) on the same level make a source folder (mkdir source) and in that folder add a webpage index file (touch index.html). Now in that file add some basic text you can surround it in tags if you like such as bold, header and so on. Save the file and note the directory from terminal by running pwd (present working directory).
$ docker run --name my-nginx -d -p 80:80 -v /Users/adammcmurchie/docker-tutorial/docker/nginx.conf:/etc/nginx/nginx.conf:ro -v /Users/adammcmurchie/docker-tutorial/docker/src:/usr/share/nginx/html:ro nginx:1.10.1-alpine
Again change the paths to match your instance, the first is to your docker configuration and the second is to the src folder
GREAT! Now you are done, if you go to the localhost in the browser page you can see your text in your virtual website. Good Job!
Adam McMurchie 23/Sep/2017