Jenkins like a Boss
Jenkins CI integration with AWS
Jenkins is one of the hottest DevOps tools on the scene right now, with a huge open source community and continuous development of the master platform - Jenkins dominance doesn’t look to end anytime soon. I am going to show you how a quick and straight forward way to go from a Jenkins puppet to a Jenkins General by optimising with AWS.
So without further ado, the breakdown of what we will learn today is as follows:
Slave nodes are important when you have a large set up and a lot of jobs because Jenkins is smart enough to evenly distribute these jobs across multiple nodes. This means you aren’t waiting for critical jobs to complete, it is essentially parallel processing.

AWS - Spinning up EC2 Instances
First thing to do is log into AWS and create some EC2 instances, for those with little or no experience with AWS, you should still be able to follow these steps, but it may be worth doing a basic tour of AWS by reviewing the getting started to guides which are on the main AWS page when you login. If you don’t have an account it is free to sign up, card details are required but you won’t be charged for anything and there are a lot free goodies to play with.
Getting Started
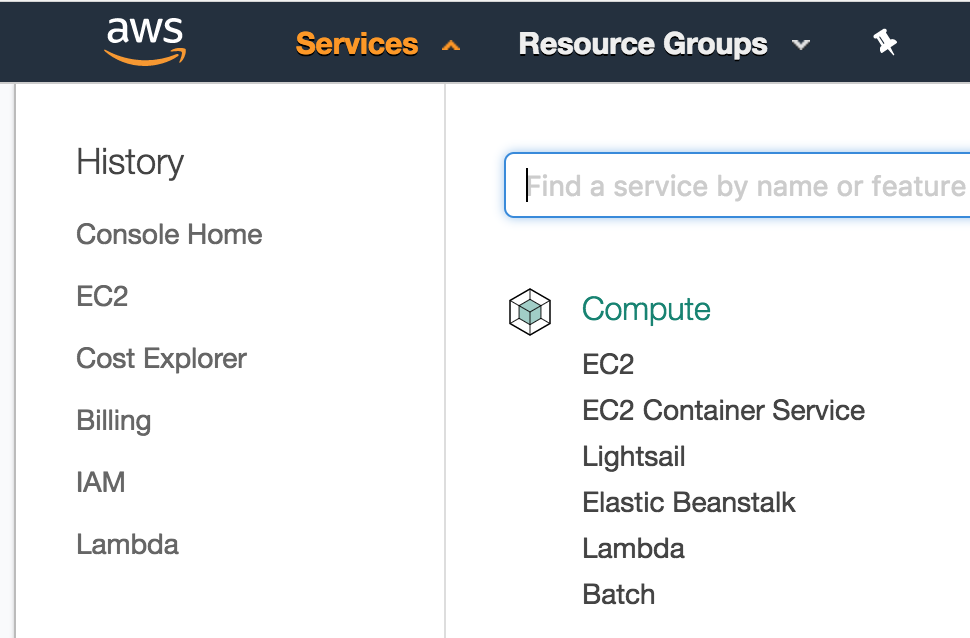
Our first step is using AWS to build and configure our three instances. Log into AWS, at aws.amazon.com then on the top left hand side, click the services drop down and select EC2.
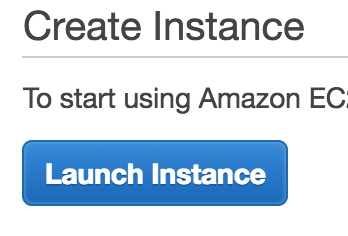
In this screen you will notice a lot of options and metrics, feel free to explore but when you are ready to proceed click the blue launch instance button as shown below.
This section is essentially a list of all the pre configured server instances you can chose from, this includes pre intalled windows, linux and ubuntu versions. If you note on the left hand side, you can also select community instances - these are instances that people have set up and opened to the public, they are generally open source but some require a password to use. Feel free to browse the instances on offer, but when you are ready select the first option which should be the Amazon Linux AMI 2017.03.1 (HVM), SSD Volume Type - ami-ebd02392. There may be a later version when you are reading this tutorial, such as 2017.04 feel free to go for the latest version.

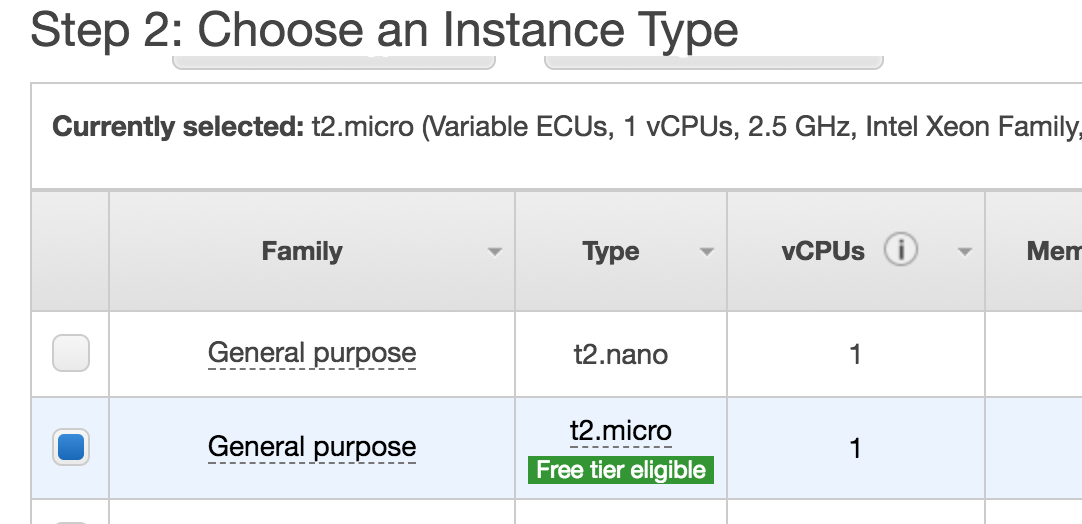
Now select your instance type, NOTE some of these are not free - so please select as shown below, there should be a green text saying free tier. Select and click next.
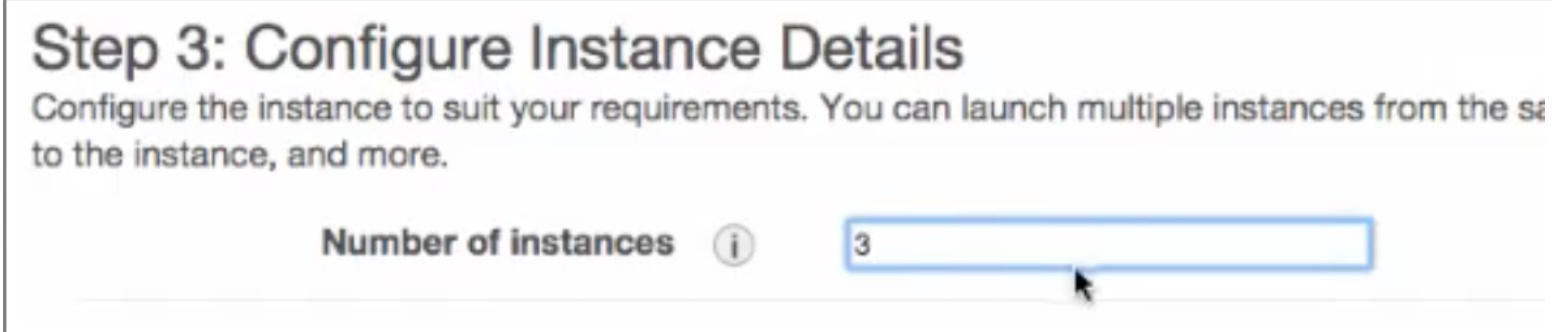
Now its time to configure your instance, simply change the number of instances to 3 (our master server and two slave nodes). Leave everything else as is and click next.
Feel free to add a tag as shown below - this is optional.

Keep the storage to 8gb, no need to change this for the POC we are working on.

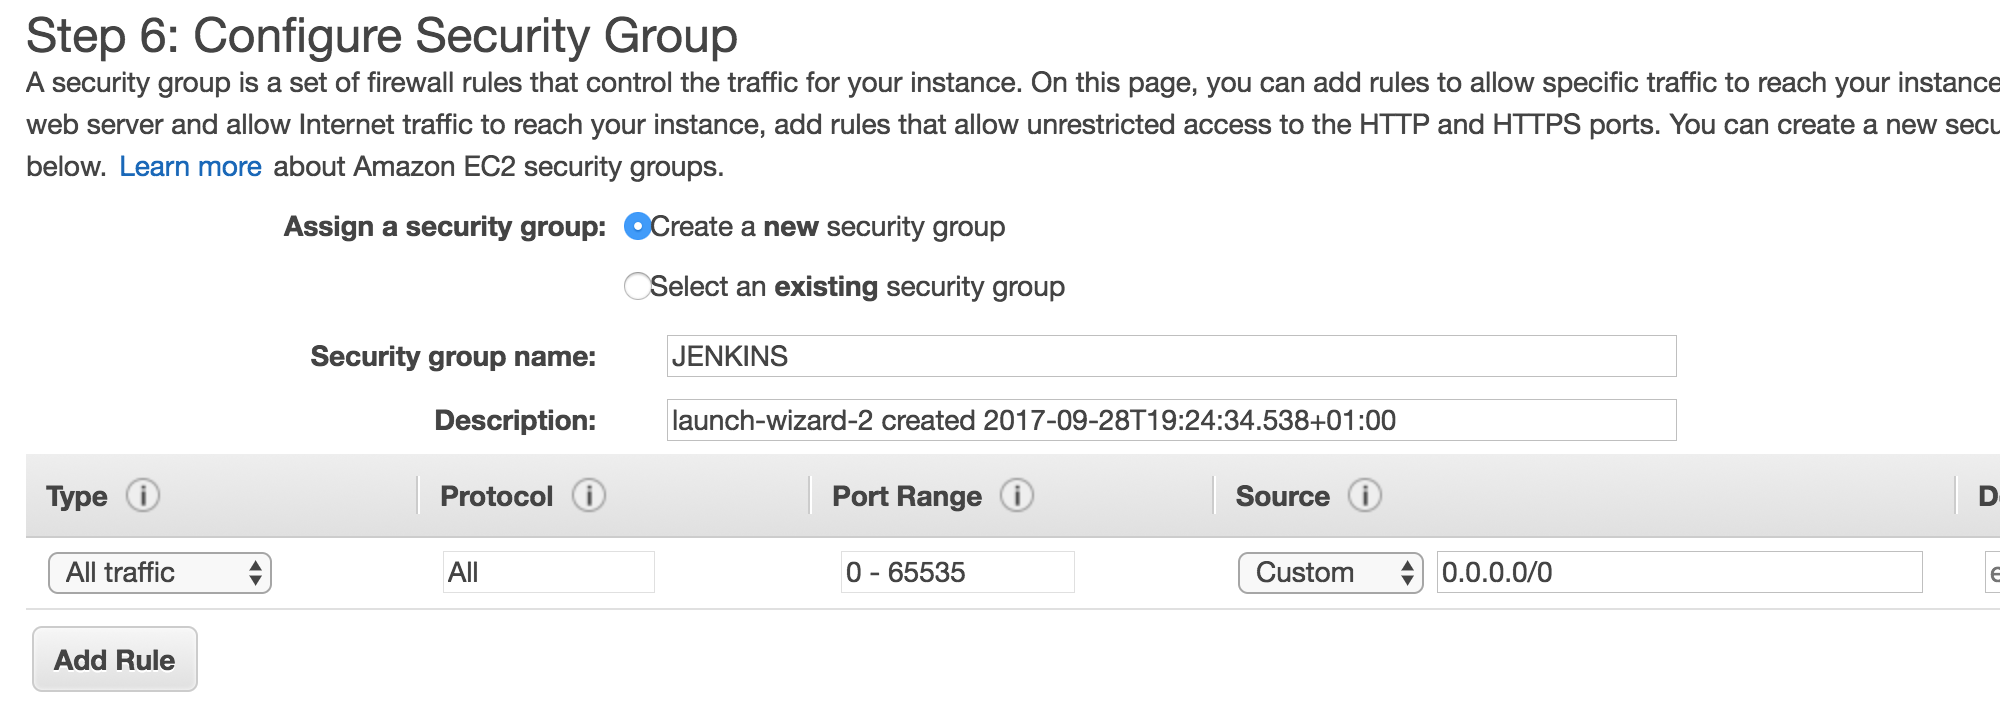
You need to create a new security group, this will define how EC2 can be accessed, such as TCP, HTTPS and in this case we want to select all traffic and give our group a name.
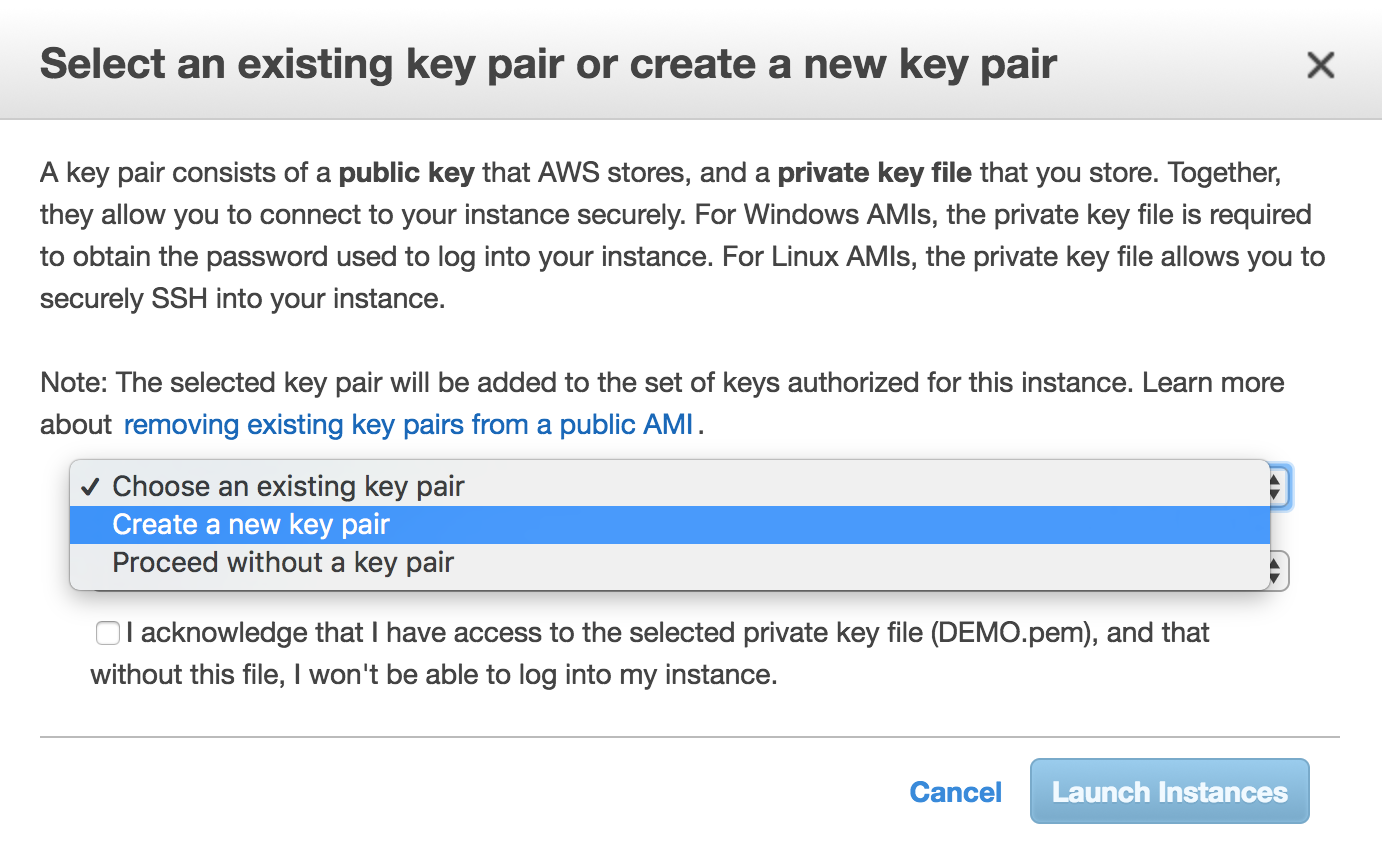
We need to generate a key pair, this is because when we launch our instances we need to connect to them (via your computer). Your computer wont have direct access to ssh connect, this is why you need to save the key to a local directory on your computer. Fortunately AWS is very self explanitory and should keep you right. Click create a new pair, then download to a folder on your computer that you can get to easily via terminal or command line.
Once you have clicked launch, you will have to navigate back to your EC2 instances screen and wait a moment for the serveres to come online. Feel free to name your instances as I have done below.

Next we will enable our computer key, then log into the Jenkins master server, and we will create a SSH key that we put in the authorised key file both nodes. That way the two nodes can communicate with the master. Once complete we will install Jenkins on the master server.
Connecting to Master
In our instances page where we can see our three servers, tick the Master server box only and you can then click the connect button to the right of launch instance which will talk you through the process of enabling your key.
In summary the steps are :
chmod 400 DEMO.pem
Where DEMO.pem is the name of the key you saved
ssh -i "DEMO.pem" connection urlYou will be prompted in terminal if you want to connect, enter yes. Now enter the following to update.
$ sudo yum update
 Installs updates, you will need to press yes to confirm
Generate SSH RSA KEY
$ ssh-keygen -t rsa -C “myemail@gmail.com”
press enter until the key is generated
$  cat .ssh/id_rsa.pub
Prints the contects of the public key to the screen
Awesome, now we need to copy the public key - be sure to save it incase you clear the screen by accident. Now lets log into our first node and paste our key which I will just call copiedkey for now. To log into node one, again go to the AWS instances screen, select that tick box only for node1 then click connect to get the command you can run on terminal/command line to connect. It is usually the command right at the bottom. Replace copied key with the public key your printed out.
$ echo “copiedkey” >> .ssh/authorized_keys
 Replace copied key with your key. This will write that key to the authorized keys folder in the server allowing the master to connect ot it.
Now repeat the process but this time for node2 and we should now have all our three servers capable of communication.
Updating Java
This step is a bit of a pain in that Jenkins is not compatible with the older 1.7 version of JAVA anymore, but the latest Linux AWS instances do not have the latest version of Java....well this is all good for the soul.
Log into master node via terminal (as we did before), and run the following commands to update JAVA:
$ sudo yum install -y java-1.8.0-openjdk.x86_64
Installs the latest version
$  sudo /usr/sbin/alternatives --set java /usr/lib/jvm/jre-1.8.0-openjdk.x86_64/bin/java
$  sudo /usr/sbin/alternatives --set javac /usr/lib/jvm/jre-1.8.0-openjdk.x86_64/bin/javac
Repoints to latest JAVA version
$ sudo yum remove java-1.7
Deletes older version
You now need to do the same process for the other two nodes, or Jenkins will fail on node builds.
Installing Jenkins
Now its time to install Jenkins, there are already some fantastic documentation on doing that, such as this link. On Linux and Mac machine the following commands can be run to install:
$ sudo wget -O /etc/yum.repos.d/jenkins.repo http://pkg.jenkins-ci.org/redhat/jenkins.repo
$ sudo rpm --import https://jenkins-ci.org/redhat/jenkins-ci.org.key
$ sudo yum install jenkins
  This will add jenkins repos then install them from command line
Jenkins always runs on port 8080, so bare this in mind when configuring security groups. Now that jenkins is installed lets start the service by running the following command
$ sudo service jenkins startNow nagivate to the jenkins instance on the Master Server in the Browser. To do that we need the ip address of the master instance then affix :8080 to the end.
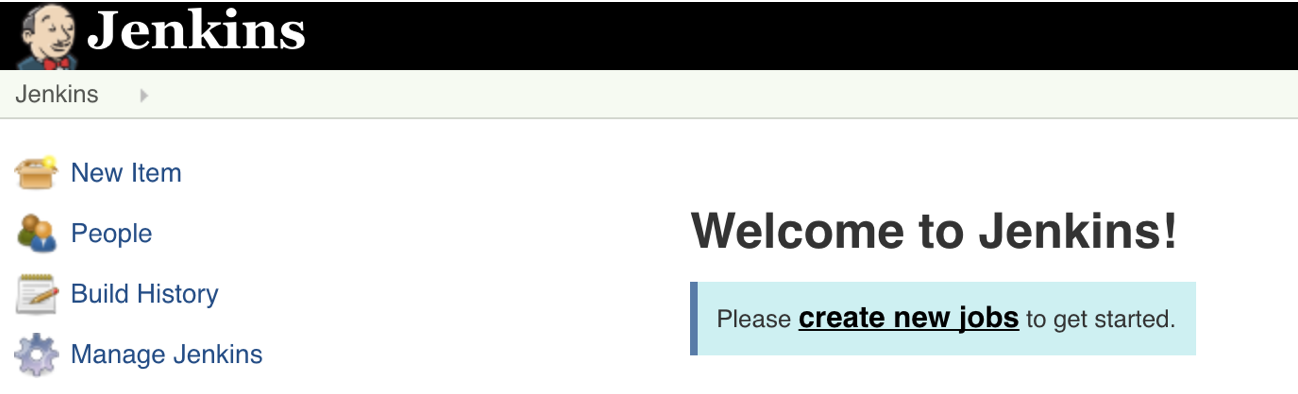
Open a browser and navigate to jenkins:
ipaddress:8080Now you should see the welcome to Jenkins screen as shown below!
If you are unlucky, Jenkins may ask you to do some initial configuration instead of saying welcome ... boo! If this happens then enter the following in the terminal that is connected to Master Jenkins:
sudo cat /var/lib/jenkins/secrets/initialAdminPassword Now click build executor status in the bottom left hand side
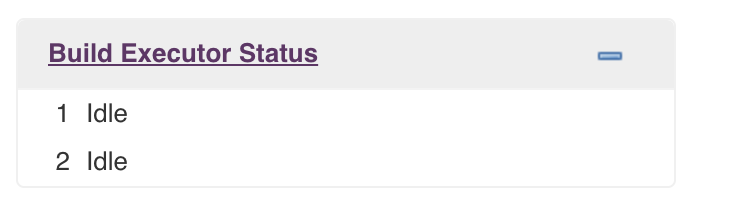
Great, we can now see our master node.

Building Slave Nodes
Now before we start kicking off jobs we need to build our two nodes. Before we do that we need to ensure we have our SSH slaves plugin installed. To do this navigate to jenkins home -> manage jenkins -> manage plugins -> installed tab. You can scroll down to check if you have the SSH Slaves plugin if you don't you can download it from this link. Once you have downloaded the plugin you need to go to the advanced tab in Jenkins manage plugins (where you just were before), scroll down to upload plugin and point to your downloaded plugin (it is a .hpi file) and upload.
Now create a new node by selecting new node (where we viewed the master node) as shown below.

Add name and select permanent agent (this name may change in the future, before it was called dumb slave). The first one we will call Jenkins Node 1

you will now have a lot of options to fill in. Important - we have to make sure when using private IP addresses we have our servers are in the same availability zone - so they can talk to each other over internal network. If we put public ip we are charged for bandwidth. But over internal network its free with private IPs. Enter the following details
Don't leave this page, but open up a ssh session with the master node again. Now we need to copy the private key that of the pair we generated earlier. Enter the following command:
cat .ssh/id_rsa
Now go back to our Jenkins Node setup page, and click on the add button next to credentials. Fill in the username as ec2-user and select kind as SSH username with private key as shown below then paste in your private key.

Now click save, Refresh the status, if we keep clicking the response time should drop to under 5ms. Now repeat for the second node, but we will get the option to select copy from existing node. Everything stays the same except for the host ip. We can note our build executor status, on each node we can have multiple processes running but for our nodes we only have one configured for now.
Running Jobs in Parallel
Lets create a new job, we can do this by clicking on create new jobs, you can do this by clicking on create new jobs on the welcom screen. Or new item in the top left hand side. Give it a name and make it a free style project.
Lets just do something simple like make it sleep for 10 seconds so we can show the different nodes working. In job configuration scroll down to the build option and select execute shell from the list. Then enter the following command.
sleep 10s Now select apply and save. Repeate the process for job two. You should have two jobs like below.
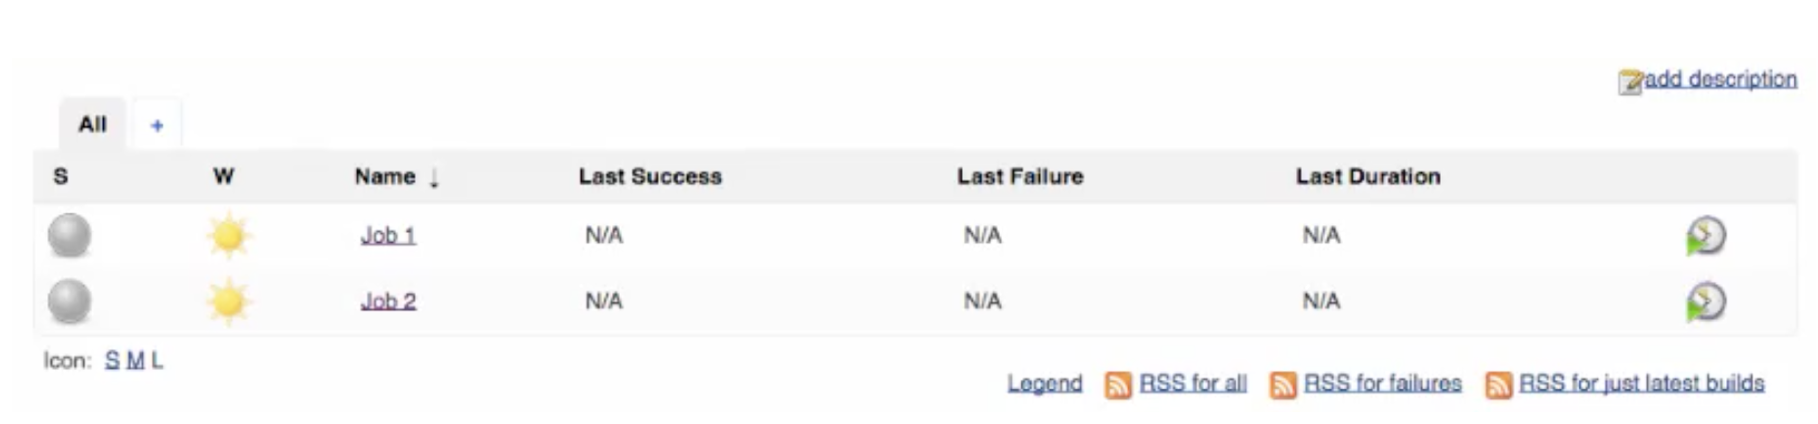
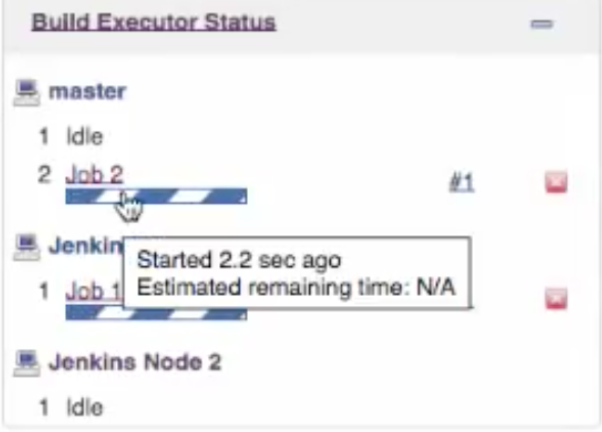
The quickest way to run both jobs is to click the clock dial on the right hand side, go and click both of them to trigger both jobs. You should now see in the bottom left hand side both jobs running but on different nodes.
GREAT! We have now configured Jenkins to run jobs on multiple nodes over AWS!! It was a bit of a long haul but well done for making it here. Please drop me an email if you want to see any more of this or have any issues. Again well done!
Adam McMurchie 28/Sep/2017