
This tutorial walks through how to use vagrant a sophisticated virtualisation tool to spin up virtual servers and environments, as well as roll out pre-fabricated operating systems. Additionally we will manipulate our virtual IP addresses and add a domain name (for free) to make the environment as much like production as we can. This of course is just the first steps towards proper configuration, but at least gives a primer on how to quickly and efficiently spin up virtual servers.
Note that you will need a linux operating system in order to follow along, if you have a Mac then that should be fine.
Getting Started
First think that is required is to download and install both Virtual Box and vagrant, these can be found on their respective websites that I have linked in this sentence. In a nutshell, virtual box allows your operating system to spin up virtual servers, and vagrant allows a more simplified command line interface with lightweight available servers pre configured to use.
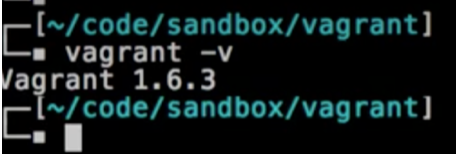
Once the applications are installed, try running the following command to ensure vagrant is working.
Go to Vagrant cloud.com to look at some popular boxes to install in our system
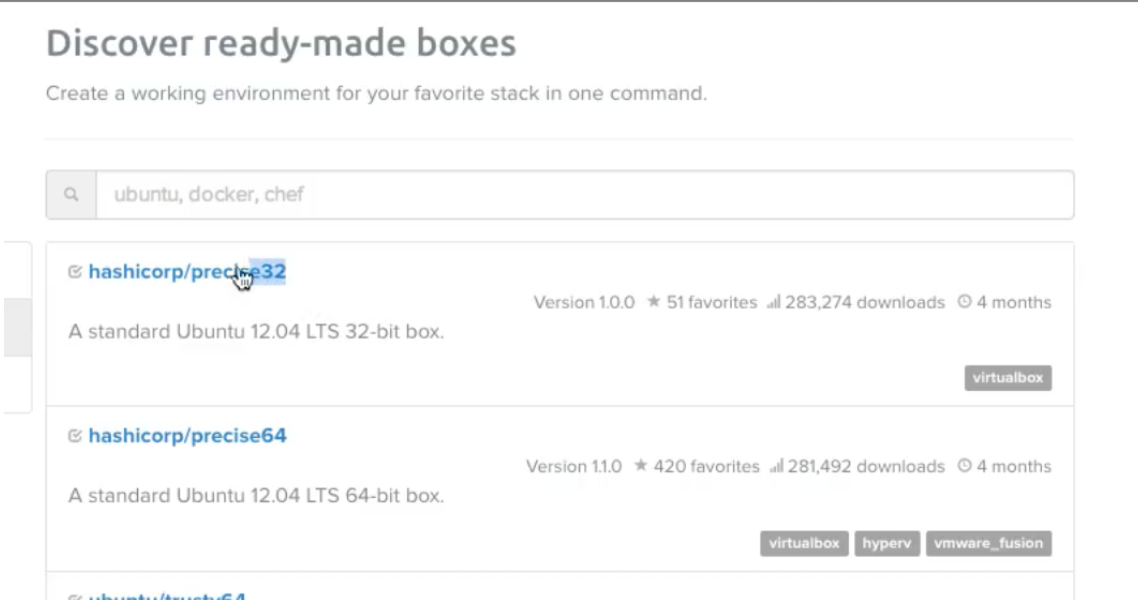
In a moment we will want to download the Precise 32 bit since it only takes about 300mb of ram to run, the other requires 5/600. If you have about 4 gig ram, then select 32 bit because you can spin up more parallel instances.
We will not download via the website however, we will do all of our work on the terminal command line. First enter the command shown below, ignoring my name before the dollar sign. Note many of the commands I show can not be copied and pasted, I want you to get used to entering these commands into the terminal to develop your muscle memory - it is an essential part towards becoming a skilled programmer.

The above command will download the vagrant file to the directory that you are currently in, but it will not install the image. To do so enter the following command.

Spinning up a Virtual Server
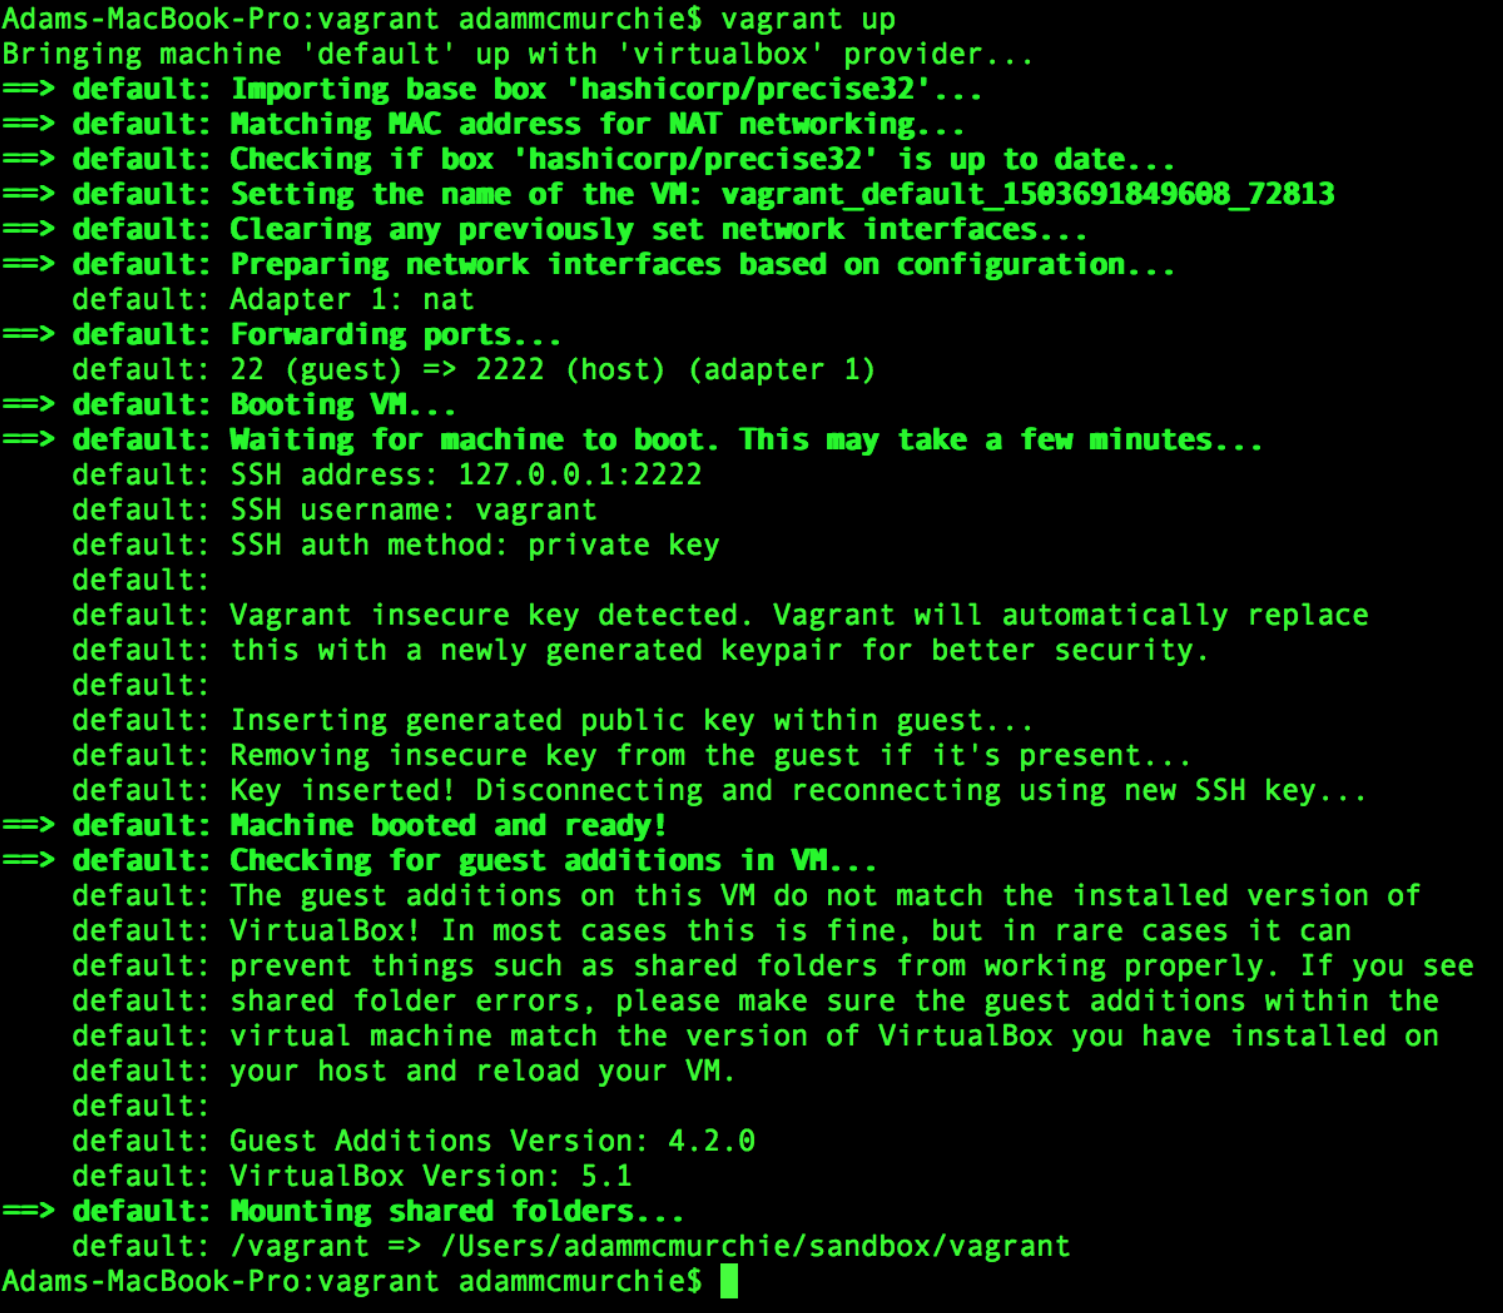
Now it is time to spin up an instance of the server image we downloaded, this will actually create the virtual server allocating memory dynamically to the virtual server. Enter the following command to make that happen:

Now the box has been succesfully spun up, and will be running constantly on your computers ram, you should see the following output.
Connecting to your Virtual Server
It is time to connect to your virtual server, to do this we want to use the SSH method. When creating the vagrant instance a key pair was generated in order for your local instance to talk to the virtual server. In real work envirionments, these keys will need to be managed and should not be handed out to anyone. Enter the following commands to connect via ssh

You should see the following successful output
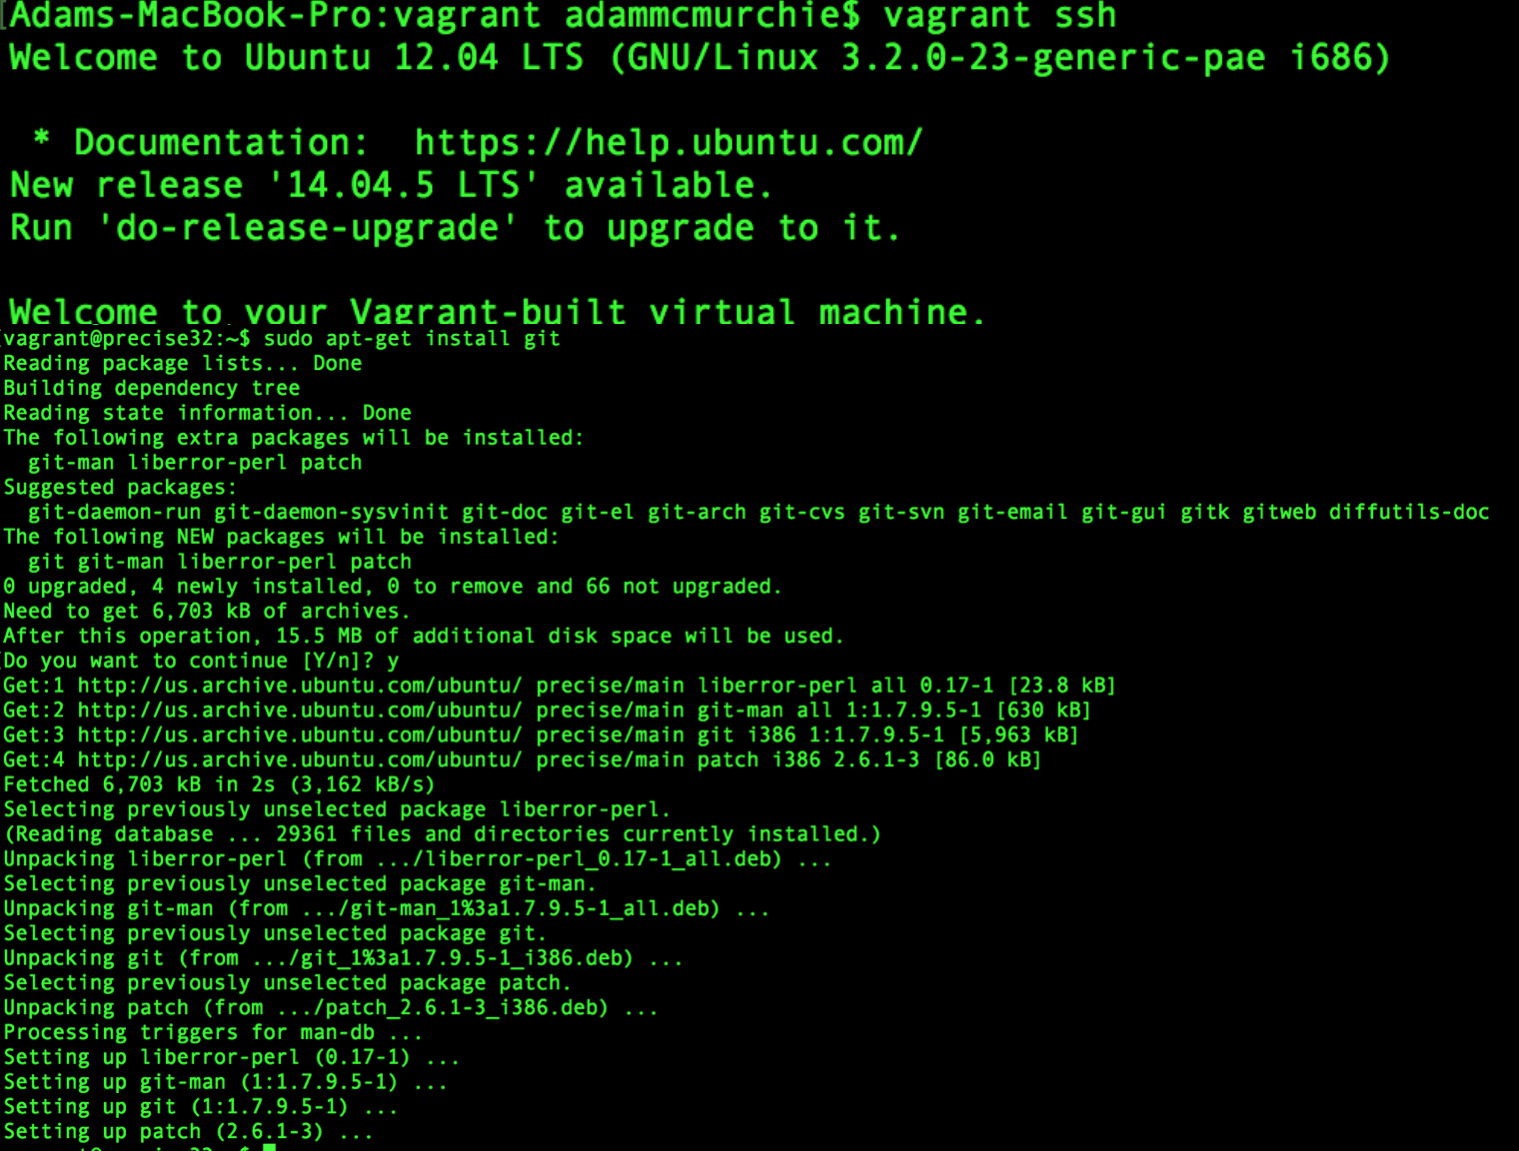
Now that is us connected to the precise box, (you can tell by looking at the text preceeding the dollar sign on the command line). As far as your computer is concerned, it is actually connecting to a real server on the internet. It does not know the difference
Installing Software
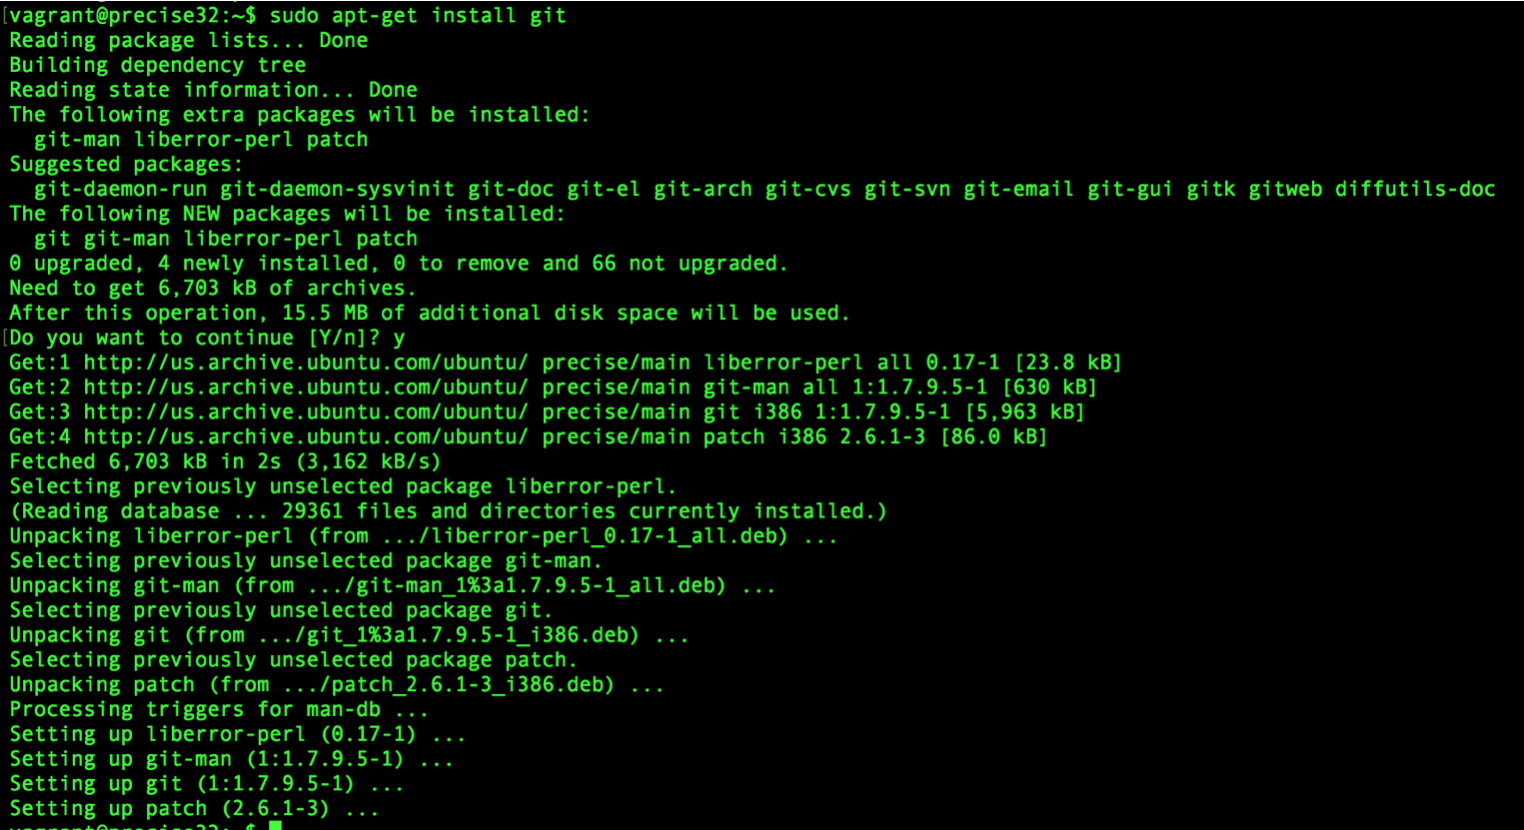
sudo apt-get install gitTry installing GitHub to see if it works (remember this is installing on the virtual server, not your actual linux local terminal). Press Y to confirm
You should see the following installation success
Now verify by runnning the following command:
git - - versionNow exit the session
exitConfiguring an IP Address
Lets make this even more realistic by giving it an IP address and a domain name, and as a fake domain name (so we don’t need to purchase it).If we type ls on the command line, we can see the Vagrantfile, this was generated after we did vagrant init command

We are back on our machine, so lets open the vagrant file in sublime text or any other editor you are comfortable with. Try either of these commands
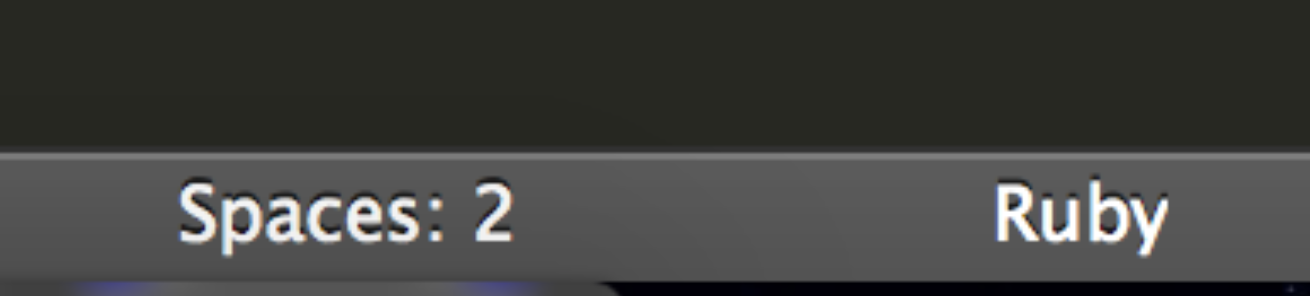
sublime Vagrantfilesub VagrantfileAlso do not forget to set the ruby syntax so you can see what code is actually active, in sublime this is in the bottom right hand side of the GUI
You will notice there are only two lines, the rest are just boilerplate stuff.Now uncomment the line as shown above and give it a spoof ID address. In my case I chose 55.55.55.5.

Once complete, save and quit
Rebooting Vagrant
In the terminal enter the following to restart the virtual server (so IP change can take effect).
vagrant reloadNote that in this process you will see outputs stuff like Machine already provisioned, a lot of the time these are just information messages. If you try to connect to 55.55.55.5 in your browser it wont be able to load anything up - this is because nothing is actually configured to run like apache, so we need to install a local server.
Installing nginX
EngineX is a substitute for apache, its what you usually use when running a nodesjs application in production. Run the following commands:
vagrant sshsudo apt-get updateAlways run update when you connect, this way you are always working with the latest versions.
sudo apt-get install nginxThe file is very light, and quick to install, now lets boot up our local nginx instance on our virtual server. Now lets start the server by running the following.
sudo service nginx startNow if we try to connect to 55.55.55.5 we should see the following.

CONGRATULATIONS!!
Now we are running a web server on the IP that we configured within our virtual server - pretty neat!
Lets now exit and we will map to a domain name.
exitNow open your hosts file using either command
sublime /etc/hostssudo open /etc/hosts -a “sublime Text”It may ask for your password, this is your mac login password. you will now see the following once the file opens
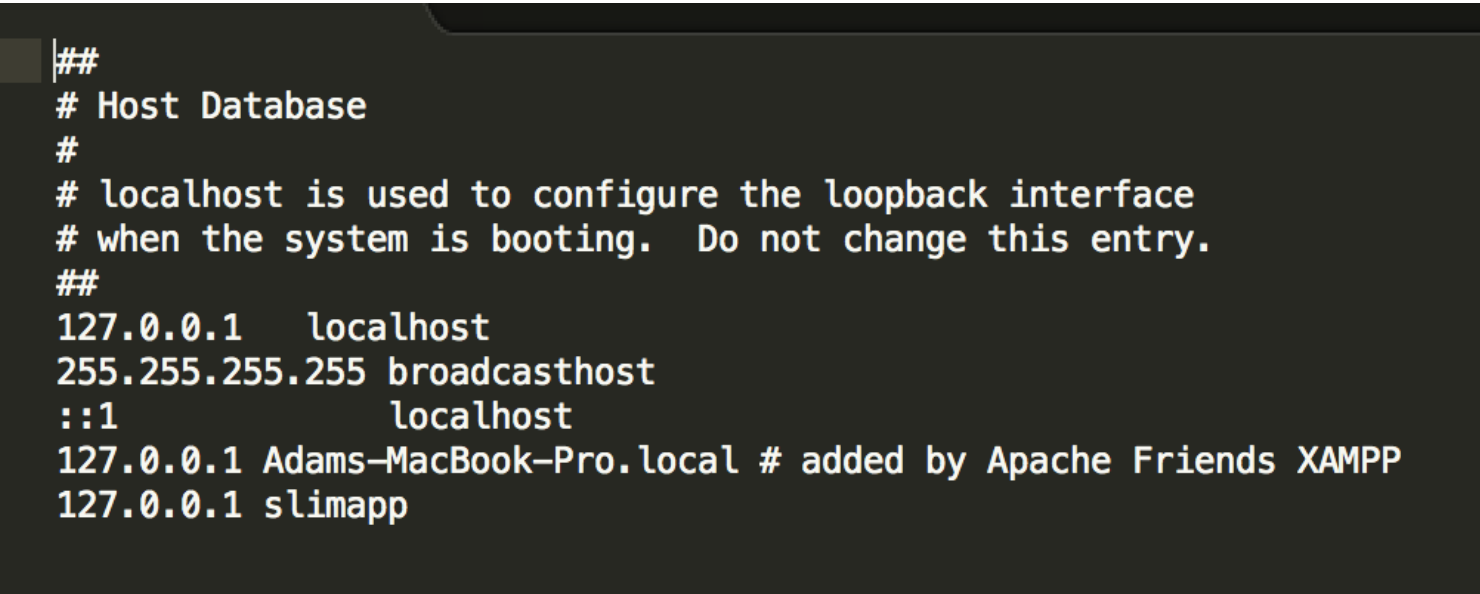
If you haven’t touched a hosts file before there are two key rules
Now lets append a URI map for our fake IP

I just added this at the bottom below slimapp, feel free to add any name you like. What happens here is anytime someone on your computer goes to vagrantrox (or the name you assigned) it will direct it to the ip 55.55.55.5 (or the IP you configured).
Note* There is also a plugin called Vagrant Hostmanager - for auto-entering the domain into the hosts file.
Now navigate to vagrantrox.com or your given URL and see it redirect to our nginx server!
NOTE* Some may name it dev.vagrantrox.com for the development version What we have done is we have spun up a LINUX virtual server, configured it and ran our own local server instance within that and created a fake IP and Domain that we can connect to.
Now close your Vagrant instance to save memory. The vagrant file will remain, but the installations will need to be carried out again the next time you start up a server.
vagrant destroyWhy is this Useful?
This is really useful for being able to quickly spin up linux machines, configure them and destroy them when we need to.
Also this allows us to practice making command line deployments to our dev server without blowing up our production server.
Developers chose to run a vagrant file in the repository for their project, whenever their project is open instead of running MAMP that installs apache , mysql and PHP on your machine.
You can actually just run a vagrant box that is configured just like your proaction webserver, then give it an IP address and domain name, like dev.myawesomewebsite.com so now your machine is not tied to one project.
Lots of times what will happen is a developer will have a problem on their machine, but not see that problem on another machine because they may be running a different version of PHP or RUBY or a slightly different version of MAC OS.
This way the code you are writing, is running on the exact same virtual box that all the other DEVs on your team are running their code on.
Another great thing is whenever you SSH to the vagrant VS, you can access the code from your GitHub repo in the virtual server that anyone who connects to that VS can access. This solves the problem of the old, it doesn’t happen on my machine routine.
USEFUL VAGRANT COMMANDS
Vagrant's basic commands
All commands should be executed inside the VDD directory.
SSH into virtual machine.
$ vagrant ssh$ vagrant up$ vagrant share$ vagrant halt$ vagrant destroy$ vagrant provision$ vagrant reloadI really hope this tutorial will have come in useful for anyone looking to understand more around building virtual servers and envirionments. This is the first in a series of DevOps tutorials that I will be releasing focusing on tools for automating the Development and Operations pipeline.
Adam McMurchie 26/Aug/2017